©Verte Photography All Rights Reserved

Showing posts with label composition. Show all posts

Friday, August 22, 2014

Function Friday: Composistion


Composition (in photographic terms) refers to the placement or arrangement of the elements in your image.


Fill the Frame with your subject.


By utilizing a few basic rules of composition and combining them with some basic camera knowlage you can create stunning images.  On our third keycard reminder sheet that you can download directly from the Indie A-list you will find quick reminders for some of the most popular techniques.


If you haven't already - you can print these Keycards and keep them in your camera bag for quick reference!
<Get the second set here>


For today's lesson - I have added some additional images in order to provide a visual for utilizing those rules!
Frame your subject

By using Dad's hands, not only do you provide prospective and scale - showcasing how small this 4.5lb baby is, but you keep the attention on her. 
Precious.


Everyday snap
Change perspective.

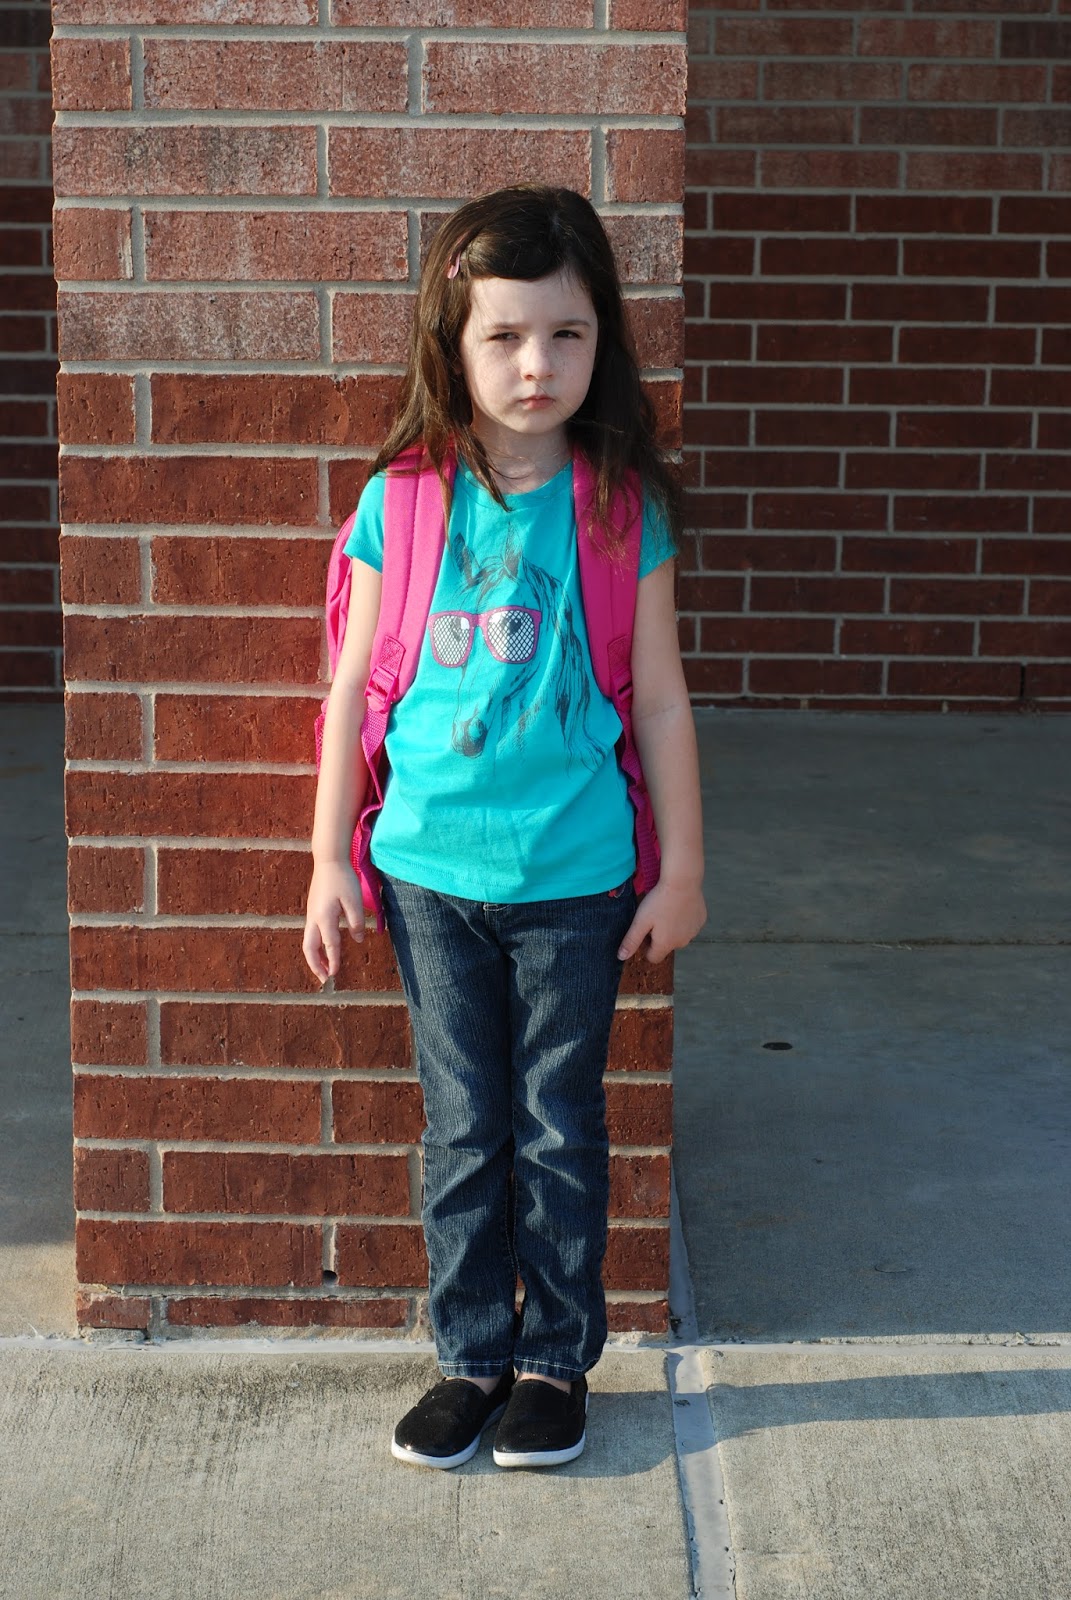
Changing up the pose - certainly adds a lot to this image, but so does shooting at a slight angle down towards the subject rather than straight on. 
(Vertetip: there are also a lot of leading lines in the brick pattern bringing your eye towards the subjects face)

While below I created lines with the pose rather than background.


Leading Lines.


Pattern/ symmetry
Patterns can be found in lines of trees, flowers, any repeating pattern... even on the background of a product image. It simply adds interest and balance to the image. 


Taller subject (shoot vertically)

Wider subject shoot horizontally.

When I teach this, people always cringe thinking I am referring to the size of a person... but in truth - you have to take into account the pose - and how much of the surrounding area you want to be a part of your vision for the image.


Our last - and one of my most favorite is the rule of thirds. Fill two thirds of the space with either your subject - or with empty space - either option works.


Rule of thirds (lines provided for visual of the rule)


Tuesday, February 25, 2014

Putting it in Perspective

How do you look at the world?

Is it bigger than life, a stepping stone across the lake, a bright brilliant smile?

Perspective, is your view, your take on life. It is also a great camera technique. Where you lead the viewer of the image on a journey. 


One of the easiest way's to create perspective, is by adding something to your image that people can relate to. In the case of the above image, this is the father's hands. It tells the story in this single image of 4 1/2 lb premmie angel named Hope. 

Delicate, loved and protected. 

This week I will be talking about several different ways to utilize perspective in your photography! I would love to see your images, so...
Today, I challenge you to find something around your house, and use perspective to tell the story.. 

Look and think before opening the shutter. The heart and mind are the true lens of the camera. – Yousuf Karsh

Friday, January 10, 2014

The Reflection Advantage


For this weeks last "retrospect" image I am going to take a look at one more way you can use reflection in your images. Anytime you have water, you have opportunity! This doesn't just apply to lakes, pools or other calm bodies of water although those are the most common. You can also take advantage of reflection off of water droplets, bubbles and wet sand, like I did below!

©Verte Photo Image available for purchase in my shop

This image was taken at sunset in CA on the beach. While most people think that is where the orange tones come from (the orange warm glow of the sunset light) that was not the whole of it! In truth there was a brick colored home much further back on the beach, but at the right angle, and with a smaller aperture I managed to blur the reflection of the house keeping the color but not the detail.


Happy Shooting!

Thursday, January 9, 2014

Product reflection

It's a two-fer day!! Here are two examples of how to achieve a reflection in your product photography. 
©Verte Photo / Product supplied by Melli's Trinkets /Melli's YarnWorks

The grey is a reflective background, it is a super gloss finish and when combined with proper lighting it captures a reflection of the product on it. For the home photographer you can achieve this on a white background by picking up a poster board at your local craft store that is a reusable dry erase board. It will be white - but that tends to be better for the home photographer to use due to lighting anyways :)


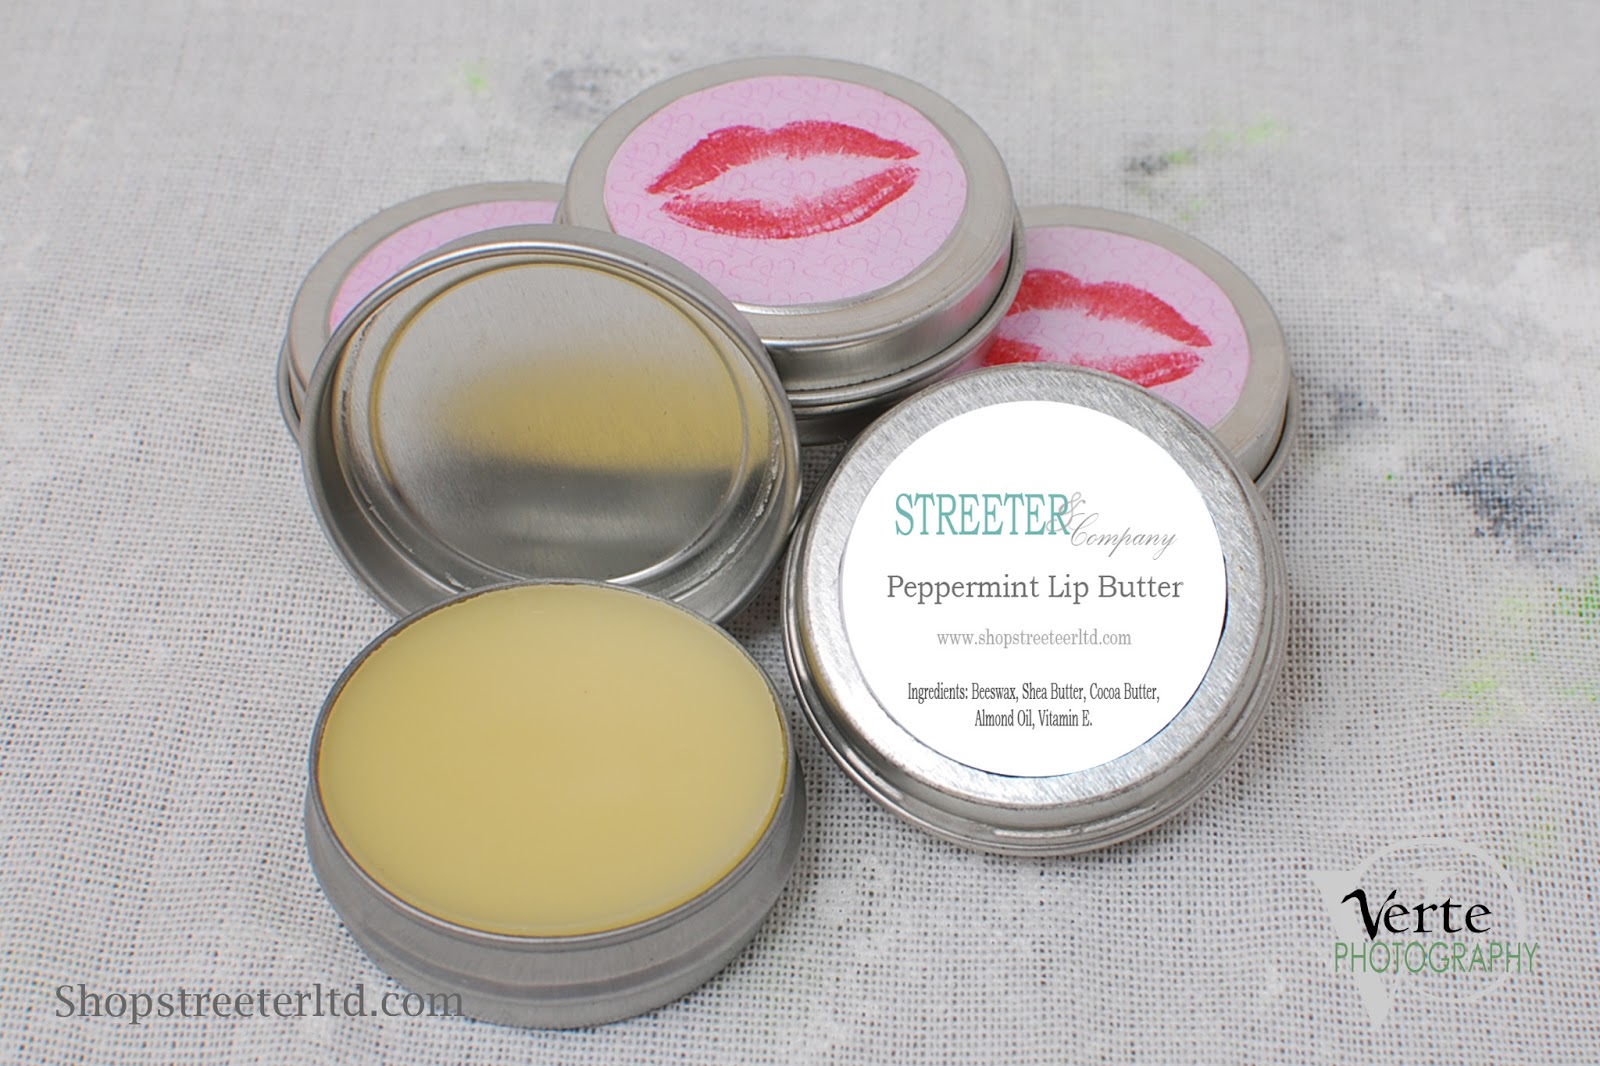
©Verte Photo / Product provided by Streeter Ltd now Studio1241
This image shows you an alternate way to achieve a reflective surface on any color of background. By using a sheet of plexiglass. You don't see the line on the background where the paper underneath the plexiglass rolls up to create the seamless look because of the aperture setting (shallow depth of field) This was shot at a F3.5 keeping my product sharp, and creating blur everywhere else. Since it is a solid surface you don't see the actual blur so it is not distracting to the image. It simply hides the plexiglass (scratches on it, and the line behind the product from where it stops and the paper continues)


Monday, January 6, 2014

Retrospect

ret·ro·spect [re-truh-spekt]

1.contemplation of the past; a survey of past time, events, etc.


Example: in retrospect, in looking back on past events; upon reflection: It was, in retrospect, the happiest day of her life.
 There are moments in everyone's life that you hold close to your heart. Big events are easily remembered and often captured in film or digital such as weddings, births, graduations... and even vacations. Many of us forget to capture smaller moments, everyday moments. Even moments on those days we would rather forget. 
This happens to be an image from one of those days. It was a day in October, and we were vacationing in San Diego. We had a brilliant trip, and this is my mom taking my then one year old to step foot in the Pacific Ocean for the first time. It wasn't a planned shoot, we were just walking on the beach enjoying life. I think this image really captures the moment. When I look back to that day and reflect on this image I remember how peaceful that time with my family was. 

VERTETIP: Change your perspective. This image wouldn't be nearly as cool to me if it was a full body. By keeping it limited to feet I feel that it gives a more unique feel and captures more of the simplicity and discovery of that moment.   

Wednesday, April 10, 2013

Product Composition

Composition: The placement or arrangement of visual elements or ingredients in a work of art.

In photography there are a lot of general composition rules.  I covered some of these in our Photography 101 series back in January. Many of them will still apply to product photography. I thought in order to keep us well rounded I should touch on this as part of our placement and perspective discussion this week... because composition and perspective really are interlinked.  In fact, Perspective is the name of one very popular style of composition!


Perspective: The angle at which you shoot your subject. We ended yesterday talking about this... you want your camera to be in line with your product, not off to a side, or higher or lower then your product.


Correct Camera height.


Shot with camera directly in front of product


But if you have jewelry or other items you need to shoot flat.. then you may need to shoot directly DOWN on your item.  I don't suggest it, but I know sometimes you have to. I suggest busting out a step ladder and leaning over your workspace. Be careful not to get in front of any lighting source!

Shooting Down at product. / Product provided by Sweetsies

Fill the Frame. Our second composition rule tells us simple what to do... rather then leaving a lot of extra space around your product, get closer and fill the frame with your item! This will provide better details as well as simply "looking nicer"
Too Far Away.


Full Frame / Product Provided by: Streeter & Co

Tip: If you have a high resolution camera, but can't focus close enough to your product you can crop in! Be sure to read up on the best way to do that, and keep your image looking sharp!


WIDE/TALL: If your product is wider then it is tall shoot horizontally, more tall then wide, shoot vertically.


More Wide = Horizontal Image / Product by: L.W. Hooks
Taller then Wide. Gift Unknown vendor.

Tip: This may also depend on where your images are going! If your uploading to a online shop, your thumbnail images may be more square, be sure to learn about any dimensional restrictions you may have before shooting!

Show the DETAILS. I don't mean just crop in on the same image... but I like to see DETAILS when I shop online. I want to see the different beads, the chain, the clasp... give me DETAILS.

Product Provided by: Streeter & CO


Product Provided by: Crafty Gal Creations

Product Provided by: Crafty Gal Creations


Monday, January 28, 2013

Time to Click: Composition

Did you know there are basic rules that photographers follow... it's not all technical and functional!

Composition from Wikipedia is described as:  the placement or arrangement of visual elements or ingredients in a work of art or a photograph, as distinct from the subject of a work. It can also be thought of as the organization of the elements of art according to the principles of art.
The term composition means 'putting together,' and can apply to any work of art, from music to writing to photography, that is arranged or put together using conscious thought.


So to kick off our "putting it all together" week... I thought what better place to start then the real down and dirty... core element of photography... Composition. 

There are several "rules of composition" that photographers commonly follow. Here are some of my fav's! 

(I have posted some of this prior, if it seems familiar... this is a much more in depth and inclusive list)


1. Fill the Frame with your subject. (imagine if Dad was shown... it would really limit what you could see of baby! Plus it would make him look HUGE because she is SO small!)


 #2 If your subject is TALLER then they are WIDE, shoot VERTICAL

#3 If your subject is WIDER then they are TALL shoot horizontally

Note: If you cant get what you need with your camera's zoom or lens, use your physical zoom... YOUR LEGS! Move yourself closer or farther to be able to fit your subject!
Leading Lines: When we look at an image our eye is naturally drawn along lines. These lines can be made from a background such as a road, bricks, steps, as well as using people and your pose to create it!  Look for lines within your image to create interest and tell the viewer where to look! Check out your favorite scenic shot... I bet you find a leading line in it!

Lines from the elbows up to the topmost head
Perspective or Viewpoint: Before photographing your subject, take time to think about where you will shoot it from. Rather than shooting from eye level, consider photographing from high above, down at ground level, from the side, from the back, change it up!
Angled Down


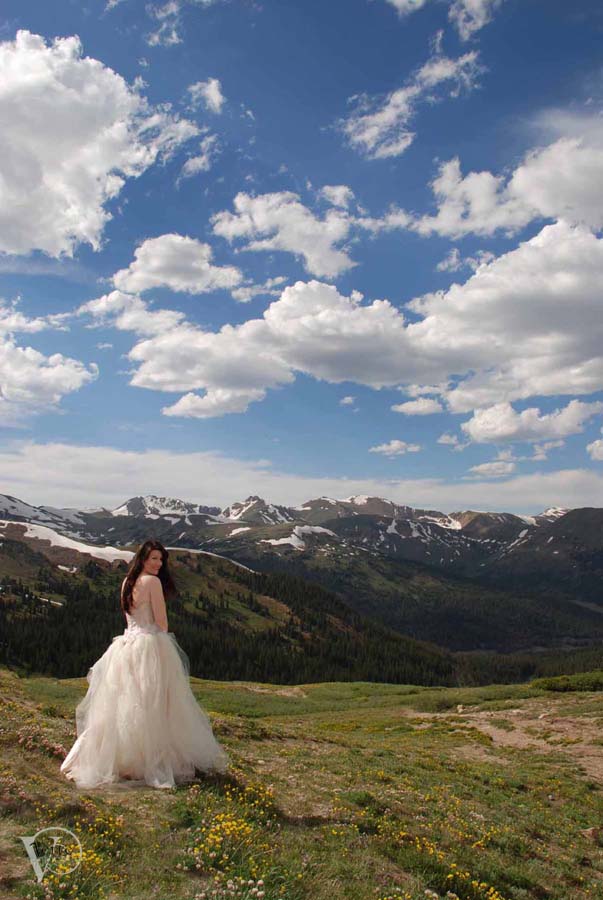
Rule of 3rd's: Imagine you have a tic-tac-toe board over your frame. It is separated into 9 equal parts with 2 vertical and 2 horizontal lines. This rule says that you should position the most important elements in your scene along these lines, or at the points where they intersect. Filling either 1/3rd or 2/3s of your frame to do so.


NOTE! Some cameras even offer an option to superimpose a rule of thirds grid over the LCD screen! This is EXTRA handy when shooting anything with a horizon line so you can keep your perspective and horizon straight!

Balancing Elements: Sometimes having a subject on one side of the frame, may leave a lot of empty space on the other, and it may feel unbalanced especially in scenic photography. You can balance the "weight" of your subject my including another object of lesser importance to fill that space.


Symmetry and Patterns: Capturing a pattern, or symmetry in your image can make for breath taking views and amazing scenic photography. This image is framed amazingly, with a full square shown around the border, patterns in the windows and symmetry on both sides. Sometimes adding an item of interest or (in portrait photography) your subject into this will break the symmetry but create more interest.  I am hard pressed to find a better example of Symmetry and Pattern for you, however I wish the bucket was larger (or more preferred it was a little girl playing on the side of the steps) to better showcase the broken effect.


The symmetry of this chapel is broken by the bucket in the bottom right corner. Image by Fabio Montalto.
Framing Your Subject: While the above image does create it's own frame along the edge... Framing your subject typically applies to using things to highlight your subject. Utilizing natural elements or props to "frame" out your subject. Trees, holes, archways, shadows, grass, door frames... even real "frames"!
©VertePhotography


Background: The human eye is great at distinguishing between subjects and backgrounds. Your camera however does tend to flatten the image, and subjects tend to "get lost" into busy backgrounds. Creating images that are not as dramatic or engaging as the could be. You can control your background with aperture, backdrops, or even light placement to create the perfect image.

Example of a "lost" background opportunity.


Clean backgrounds make products pop!

Amazing baby... distracting background.

Priceless

Well there you go... a more in-depth look at composition and how it will effect, change and improve your photography! Keep in mind, several of these images have more then one technique being used... besides the baby who's image I used twice, can you find some? Be sure to comment below and let me know!