©Verte Photography All Rights Reserved

Showing posts with label studio. Show all posts

Tuesday, May 28, 2013

Tuesday Tip: Family Portraits

Summer. The ultimate time to get outside, and focus on family fun! Many people take vacations, and attend family reunions, go to weddings... its all part of the Family Photo Season!

Today, I wanted to give you a couple "out of the box" tips for capturing those family moments, without setting up a big "to-do" or stressing yourself out! You can add a lot to your basic snapshot by following a just 2 basic photography guidelines.

1. Learn some basic poses. If your taking group images, nothing ruins a good portrait like poor posing. It doesn't need to be any big deal! By utilizing this basic triangle you can successfully shoot 2 - 20 people in a snap!


The Stair, is created when one subjects eyes are in line with the others chin.


You can easily add people, by going from a single stair to a triangle.


Now you can add as many triangles to your image as you have people!


The key to this - is not to put anyone's head directly on top of someone else... you have to leave room to see part of their chest and shoulders! 

Tip: Keep children and babies in front, not only will this help you get their attention if they are close together, but it will also keep them from looking oddly small due to them being farther away!


Another classic pose is the: LINE
It doesn't get easier, just put everyone on the same line in front of you! 


2. Learn a couple easy rules of composition. These rules apply to all types of photography, and are common in all different types of art as well!
This shows you some guidelines for what's called "The Rule of Thirds" it simply states that 2/3's your image should be subject and a 1/3 dead space. (or vise versa). You see this a lot with off centered portraits, and landscapes like beach images where the horizon line will be the bottom 1/3 and the setting sun and sky will fill the top 2/3's!

Another MUST have in your bag of tricks is...

If your subject is wider then they are tall, shoot Horizontally.

 Taller then they are wide? Shoot Vertically!


I hope you put these super simple tricks to use this summer! Remember, it's more important to capture the moment... then to capture the moment perfectly. Relax and have FUN!


Wednesday, April 10, 2013

Product Composition

Composition: The placement or arrangement of visual elements or ingredients in a work of art.

In photography there are a lot of general composition rules.  I covered some of these in our Photography 101 series back in January. Many of them will still apply to product photography. I thought in order to keep us well rounded I should touch on this as part of our placement and perspective discussion this week... because composition and perspective really are interlinked.  In fact, Perspective is the name of one very popular style of composition!


Perspective: The angle at which you shoot your subject. We ended yesterday talking about this... you want your camera to be in line with your product, not off to a side, or higher or lower then your product.


Correct Camera height.


Shot with camera directly in front of product


But if you have jewelry or other items you need to shoot flat.. then you may need to shoot directly DOWN on your item.  I don't suggest it, but I know sometimes you have to. I suggest busting out a step ladder and leaning over your workspace. Be careful not to get in front of any lighting source!

Shooting Down at product. / Product provided by Sweetsies

Fill the Frame. Our second composition rule tells us simple what to do... rather then leaving a lot of extra space around your product, get closer and fill the frame with your item! This will provide better details as well as simply "looking nicer"
Too Far Away.


Full Frame / Product Provided by: Streeter & Co

Tip: If you have a high resolution camera, but can't focus close enough to your product you can crop in! Be sure to read up on the best way to do that, and keep your image looking sharp!


WIDE/TALL: If your product is wider then it is tall shoot horizontally, more tall then wide, shoot vertically.


More Wide = Horizontal Image / Product by: L.W. Hooks
Taller then Wide. Gift Unknown vendor.

Tip: This may also depend on where your images are going! If your uploading to a online shop, your thumbnail images may be more square, be sure to learn about any dimensional restrictions you may have before shooting!

Show the DETAILS. I don't mean just crop in on the same image... but I like to see DETAILS when I shop online. I want to see the different beads, the chain, the clasp... give me DETAILS.

Product Provided by: Streeter & CO


Product Provided by: Crafty Gal Creations

Product Provided by: Crafty Gal Creations


Tuesday, April 9, 2013

Product Placement and Posing

I know, crazy me... talking about posing inanimate objects... but it is true! I spend more time placing an item then I do shooting it. There is a lot of thought and attention to detail needed to showcase an image! In commercial photography they don't really call it "posing" they call it "styling".

Lets talk about some of the most popular items
  1.  Jewelry
  2. Crochet and Knit items
  3. Stitched and Sewn
  4. Reflective and Clear (this could be jewelry, but we will use jars and tins for our example)

Jewelry, Reflective and Clear items. By far the most time consuming of all the items I shoot. So why is that? Let's go step by step.
  • I sort all the product, like items together, with similar styles and colors grouped up also. This allows me to look at a glace at what I have and select the best backgrounds for each.
  • I put on anti static gloves. I don't want to leave fingerprints, or extra hairs or dust on anything.
  • I clean each item with a soft cloth.
  • I check them for stray hairs, or fibers that often get stuck in chains (esp if they are shipped to me on top of cotton packing like this:
Product and Packaging provided by: Crafty Gal Creations

I suggest putting items in plastic or wrapping them in tissue to reduce the fibers that attach themselves! 
  • I set my studio, with the tools I will need, backgrounds, props, etc.  I also set up lights, and test everything to insure quality. 
  • Now I am ready to get started to shoot!

 Crochet, knit, and sewn items: While most of the steps above apply, I don't have to typically worry about fingerprints on these items. However, I do have to spend extra time checking the stitching, hems, materials for stains, or yarn changes or errors that I try not to highlight in the image. Overall the biggest thing is making sure there are no extra pet hairs, fibers or strings or yarn hanging off. Because you want to be able to shoot detail shots of all fabrics, hooks, clasps, buttons, stitching and etc.

Once I am ready to shoot - it is all about how to "pose" the product and placement on the background itself. You know from previous posts that the more space you leave between your product and the background, the more blurry, or out of focus your background will look when you use your macro, flower, or aperture controls. It may also help you reduce shadows depending on your lighting situation.
Below are my tips for successful posing and placement.

Placement: I like to center my products on the background, and depending on product leave anywhere from 6 inches to 4 feet to the vertical portion of my background. The larger the item, the more space I leave. (also, the more likely I am to use additional lighting so the vertical background doesn't get underexposed due to lack of light... I want it all to look seamless, and consistent.)

 There is nothing wrong with the above image, you can see the product. However, the light on the props and the twisted hook on the earing give it a little bit of a haphazard look... combined with the horizon being off and the opposing agle of product and it just doesn't feel pleasant to look at. (Granted, I did have to crop and twist to make this point I did originally shoot the horizon straight)


Posing: Looking at how you are placing your items makes a big difference. You can create something that is a good photography, but doesn't really display your item, or worse, if done in a sloppy manner you can give your clients the impression that photographs are an after thought, or that you don't take care with your products. Ouch! By putting thought into them, you can go from good to captivating with ease.
Product Provide by: Crafty Gal Creations
 There is nothing wrong with the above image, you can see the product. However, the light on the props and the twisted hook on the earing give it a little bit of a haphazard look... combined with the horizon being off and the opposing agle of product and it just doesn't feel pleasant to look at. (Granted, I did have to crop and twist to make this point I did originally shoot the horizon straight)

 However, by sliding the earnings to a hanging position over the sound hole (yes, I looked up the name of the hole on a guitar and thats what it said it was... who knew) The hooks are showcased better, the image is less distracting and your product becomes the focus. It's a simple change. 

Consistent: I also find that when I am shooting the SAME item or items that are the same size, it behooves me to set my camera on a tripod, and place the items in the same spot. so the item is a consistent size shot after shot. Because you don't want to end up with this kind of a difference.


Product and Packaging provided by: Crafty Gal Creations

Product and Packaging provided by: Crafty Gal Creations


 Tripod: A tripod is your friend. It will keep your camera in one place for consistency. If you shoot the same size over and over again, make a note of the zoom, and where products are on the background, and your tripod (mark them with tape or marker if you can) then you can recreate this anytime you need!

Camera Placement: Place your camera to the height of your product, and directly in front of it, not at your eye level. This will allow you to keep your horizon line straight, rather then making your products appear to be tipped or slanted, which makes your image look sloppy and less appealing.

Product appears to be sliding off  image due to horizon line and angle.
Twisted Product Sample Image / Product Provided by: Streeter & Co
 
Nice, straight on clean image.
Take your Time: Especially when working with beaded items, chains and stones, you need to take your time. I have a little rolling stool.. yep just like the doctors office. I roll in sit down and bust out my tweezers and other small tools so that I can easily turn, flip and place each small item. In the end, details sell.  Even if your not placing each bead just so... making sure your product is straight and your camera is lined up will make a dramatic difference.


Thursday, April 4, 2013

This and That: Easter

Good Morning! Did you miss me?


Katie Did What

This morning is the Easter Party and egg hunt at the lil' ones school - She is SO excited. Mostly because she gets to show off her new super cute "pop star" outfit. That, was how this post should have started... last week.

Sorry about that! I had it all ready to go, and was waiting for images to upload when I got super busy... and bam... before you knew it... here we are, a week later! I even had to push some DIY studio posts back because I am missing images for them... =( hopefully we will get caught up next week for you!

This week I tried out a new recipe for the crock-pot... do you use yours? I LOVE mine! I read a post last week about doing Easter Ham in it... why have I never thought of that! So I did ours... it was GREAT... mostly because we were not cooking for a crowd.

This year, again we are away from friends and family and that makes our holiday's "small-a-days" so I picked up ham for the crockpot and made a nice honey pomegranate glaze for it. We also enjoyed balsamic carrots, and smashed potatoes... I also made deviled egg salad... rather then taking the time to make individual eggs. Again.. BRILLIANT!  


This week I wish I could say I spent a ton of time catching up on posts, and working on adding more images... did you know I average 5 images per post... but I am simply not finding the extra time. I am trying to go back and do 2 posts a day. That is my goal! So if your reading something and it makes no sense because there are not images... please let me know! I will do it the next chance I get!


This is an image of my FAB new bag from Zeeuh that I have been DYING to share with you all... she made it custom for me... it was a great experience working with Alicia.. she provided me with some great fabric options and even met me for some CRAZY good ice cream and coffee to hand deliver it! Talk about good service! Along with my new bag came a matching mug hug! EEK! Wont I look stylish going to appointments and networking meetings now! Oh, and that cute wallet (the back side is shown) that is a little goodie I picked up for myself around the holidays!


That is the mug-hug that started it all... I LOVE this color combo!


And this is an image of the cute gift card holder ... that I use for my cards - its super cute! Just look! (ok those are her cards shown... but really that's the right thing to do!)


I am telling you THAT is a woman YOU want to do business with! Great products, sweet person and really... you make a difference in her families lives directly when you make a purchase from her... so HOW can you say no to that!
Zeeuh Store


This week I also had the EXTREME pleasure of guest posting on the A-list site... I LOVE the A-list, which is really a collection of fantastic shops and people to do business with! I worked very hard on this guest post! It was a true labor of love for me. (ok... this again was last week... but I am SO happy about it I still had to share!)

That was really the highlight of my work week!


This week I have also been thinking alot about a new service I want to offer... I am having a hard time with a name - but its basically going to be my version of a product review (with a photo twist, of course!) That means if you make / sell your own products... you can contact me to be first in line! While I am still working out some details... I know it will be FREE and SIMPLE!

Tuesday, March 19, 2013

The Product Background

There are many choices available to you for a home studio background. Today were talking all things white... why is it the most common and effective product background? That question, and others will be answered today, plus I will share a couple of great tips that you can use at home!
Product provided by: ShopStreeterltd.com


Simple white backgrounds are common, effective and an industry standard. I don't know of a professional studio or product photography that doesn't have at least ONE option for a seamless white background!
Product provided by: ShopStreeterltd.com

Why is it popular? It's clean. It's seamless. It's simple. It doesn't distract. It makes colors appear to "pop" and be brighter, and more vibrant. It's professional. It is easily manipulated and created in Photoshop.

Ah. Bet you didn't know that!

It is often "created" in photoshop, when you look at professional product images, magazine ad's, Pinterest ads, even on TV commercials you find that when they want to make a statement, or really highlight an item - you find it on white. Many times that white background wasn't really there (or it has been digitally altered.) Many times it is shot on a green screen called a chroma key (yes like the weatherman) and then the product is selected and dropped onto a flat white background within a photoshop style program. Interesting, right!? Professionals shoot this way to insure there are no distracting seams, creases or shadows on the background, as well as creating that "floating" image feel. Plus, it is easy to drop the image on to any color of background once it has been selected off the chroma key background, making one image very versatile.

The Bonus of White: You have a solid white to set your WB mode to. If you make your white, white... all the other colors in your digital image fall into place. Plus, they are easy to find, purchase and create yourself.

Different Types of Materials: Professionals use several different kinds of white backgrounds they often have rolled white paper backgrounds this are not every day paper.. but a heavy stock.  Others opt for some sort of fabric like cotton, canvas or white muslin, again typically a heavy stock. For the home studio, I think it is important to judge the size of your product needs and then look at the type that would best fit those needs. 

For small items thick white paper - like foam core, or poster board works well. The poster board can be leaned against a wall or table to create a seamless look... like the set up I did for the phone vs camera post.


You can also get larger rolls of white paper from your craft store if you have larger items, it isn't as heavy as photography rolled paper, but it would work in the home.  If you are using more of a paper over the poster board thickness... a lighter paper stock,  I would suggest picking up a piece of white foam core as well to place under the paper and your product to prevent bleeding from the color of your table or surface (unless it too is white). One of the reasons many photographers use large rolls of thick white background paper ( and it is thick and heavy stock!) is that it can be rolled out over another background,or over a painted wall and nothing will bleed through so it will stay white. Another is because when it gets dirty they simply cut it, roll new paper down and then go to the next shoot. This is really common for family, portrait, and commercial photographers.
©VertePhotography


If you have larger items, hanging items, or want something a little bit different you can purchase a muslin from someplace like Steve Kaesler's Website where he offers 6x9's at a fair price $59 or so. I know many a home photographer that uses a cotton sheet... however I am going to tell you - that may not be your best idea!

You can certainly use any white cotton (or other) fabric and it will "work". However, when looking you want to find one that is thick enough not to let light pass through it, sheets tend to be too thin. If you can hold it to your window on a sunny day and it doesn't block the light... it is not the best to use. If it is simply all you have, then again I suggest you double it up, or place something else white under it - like foam core. (Do you think Foam core is a photographers friend?) The idea is that you want it to bounce light off of the white and around the product, not for the light to pass through the fabric. This will help add light to your image, reduce shadows and create a seamless look. You want your product to pop, not the background.


Product Provided by: The Tiny Diva

Think about what you are shooting, if your shooting people it will get dirty. You may need to bleach, repaint, or replace your background as it gets used so be thoughtful and look at the care instructions of what your using!

You also want to look for something without a texture or weave to the fabric, as these can look distracting on close up images. When you use a fabric, it's very important to iron it flat, and to place it where it will cover your surface area and like the paper curve up like along the wall to give that seamless look. If there are folds or wrinkles this will look distracting and create shadows and highlights that you don't want!


While this image doesn't look "bad" it can easily be so much better by simply placing the product on a smooth background!


Product provided by: ShopStreeterltd.com


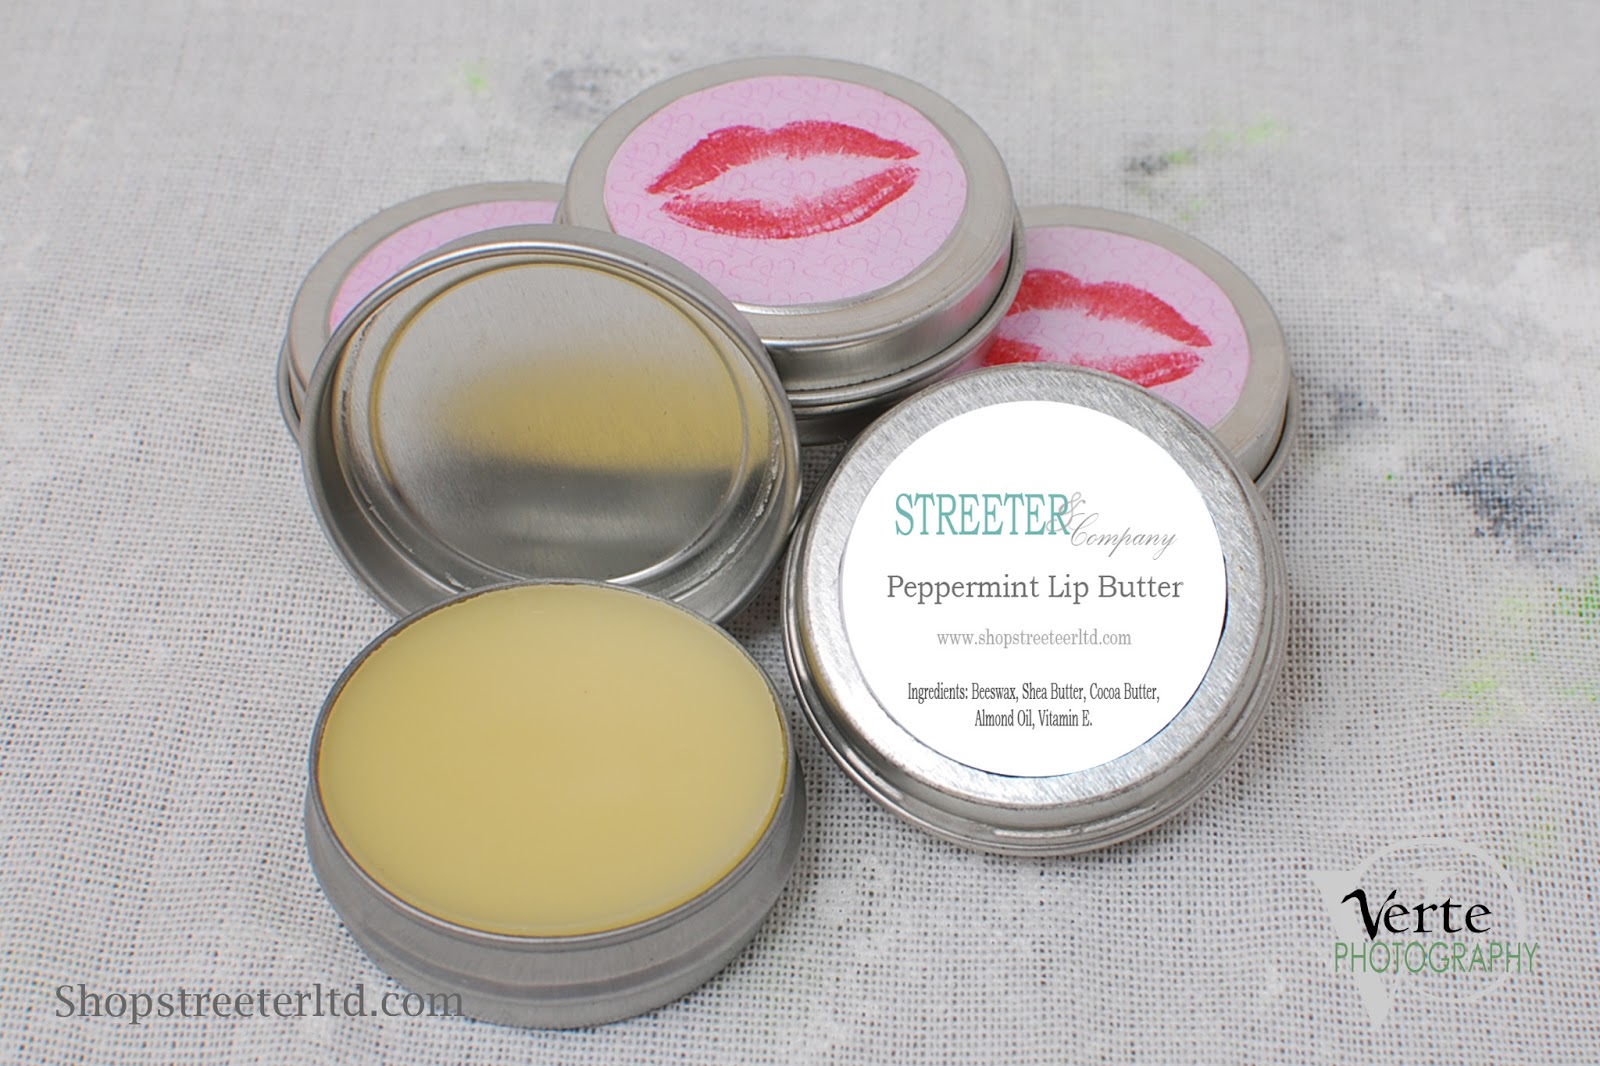
And here is my top tip for a simple, elegant white background that you can recreate at home super affordable.

Product provided by Crafty Gal Creations
See where there is a slight reflection of the product on the background? Super sleek right?
To recreate this look (for small items) and in fact what I used for this shot, head to your local craft store and pick up one "wipe off" poster board... it has a shinny side that works like a wipe board with a dry erase marker! Use this side to catch a reflection of your product! Of course be careful that your product is all that reflects, you don't want your lights, or camera or anything showing up! Also, you have to use your macro function and make sure you have enough light to create the reflection!

Now, white is not the only game in town! It is simply the most common and often the most practical. However, in the next few days I will be covering some alternatives to white, and why you may want to use them!