©Verte Photography All Rights Reserved

Showing posts with label commercial. Show all posts

Friday, April 12, 2013

What Clients Say: Streeter & Co

April Showers bring more then May Flowers! This month I am  super excited to add this segment to my blog! 


I hope to share with you, a clients perspective on my services, or tips and solutions from them during this segment and let this continue as a guest blogging option for you all to "put in your two cents".  If your interested in creating a post, please contact me! I would love to hear what you have to say!

So now, I will be turning it over to Kristina at Streeter & CO for our First "What Clients Say" post!


"I used to be guilty of what I like to call the "Jack of All Trades Syndrome". I was always the business owner that wanted to do everything myself, if for no other reason that I wasn't willing to invest the time or the money into having someone else do things for me instead. Did you notice I used "used to be" in that first sentence? That's because I learned the value of having my items shot professionally.

Although I know my photos were better than others I have seen around the handmade shop industry, heck lets me honest - even in small business images - we've all seen them, the grainy, unclear photos - mine weren't quite that bad, but they weren't the quality I needed.  As an online merchant I know that the photos are the one chance I get to grab the customers attention and want my product, low quality images won't help me achieve that one bit. Sure, I was getting return customers that had used my products in person ordering from my store but I wasn't having the sales that I hoped for from "new customers" - why? My product photography. The images I was shooting with my amateur skills and less than fabulous camera quality (or iPhone whichever was closest) wasn't doing my products justice. I needed a different solution.


Verte Photography was the solution to my problem and I never looked back. With Verte Photography I know my products are in the hands of a passionate, talented photographer.  Candy is so wonderful to work with and thrives on making the image look so wonderful that you would like to grab it off of the screen.  I have seen such a big difference in sales and page views. Customers are liking what they see and I know this not only by the sales but by the fabulous comments that I have received.


Not only does Verte Photo have a lifetime customer but I also refer every other shop owner I know to Candy. Why wouldn't I? A Shop with fabulous products needs nothing less than the best." - Kristina Streeter, Owner of Streeter & Company

Wednesday, April 10, 2013

Product Composition

Composition: The placement or arrangement of visual elements or ingredients in a work of art.

In photography there are a lot of general composition rules.  I covered some of these in our Photography 101 series back in January. Many of them will still apply to product photography. I thought in order to keep us well rounded I should touch on this as part of our placement and perspective discussion this week... because composition and perspective really are interlinked.  In fact, Perspective is the name of one very popular style of composition!


Perspective: The angle at which you shoot your subject. We ended yesterday talking about this... you want your camera to be in line with your product, not off to a side, or higher or lower then your product.


Correct Camera height.


Shot with camera directly in front of product


But if you have jewelry or other items you need to shoot flat.. then you may need to shoot directly DOWN on your item.  I don't suggest it, but I know sometimes you have to. I suggest busting out a step ladder and leaning over your workspace. Be careful not to get in front of any lighting source!

Shooting Down at product. / Product provided by Sweetsies

Fill the Frame. Our second composition rule tells us simple what to do... rather then leaving a lot of extra space around your product, get closer and fill the frame with your item! This will provide better details as well as simply "looking nicer"
Too Far Away.


Full Frame / Product Provided by: Streeter & Co

Tip: If you have a high resolution camera, but can't focus close enough to your product you can crop in! Be sure to read up on the best way to do that, and keep your image looking sharp!


WIDE/TALL: If your product is wider then it is tall shoot horizontally, more tall then wide, shoot vertically.


More Wide = Horizontal Image / Product by: L.W. Hooks
Taller then Wide. Gift Unknown vendor.

Tip: This may also depend on where your images are going! If your uploading to a online shop, your thumbnail images may be more square, be sure to learn about any dimensional restrictions you may have before shooting!

Show the DETAILS. I don't mean just crop in on the same image... but I like to see DETAILS when I shop online. I want to see the different beads, the chain, the clasp... give me DETAILS.

Product Provided by: Streeter & CO


Product Provided by: Crafty Gal Creations

Product Provided by: Crafty Gal Creations


Monday, April 8, 2013

Setting up for Sucess

Why bother to shoot your own products if your not going to take the time to be SUCCESSFUL! The point to having photo's is to showcase your images, so people can see what they are buying right? So let's make sure we have the tools we need to from this....


To this!
Product Provided by: Crafty Gal Creations


Depending on your product, and set up you need to think about how the light will hit the items, what part will reflect, what shadows can be created, and what adjustments do you need to make so you don't see shadows, as well as making sure each part is shown, and showcased the best it can be.

There are a few secrets to this.


1. Tweezers are your friend. I use these to place each stone, bead and chain in just the right place.
2. Cleaning cloth. I use my soft clothes from cleaning my lens to polish stones and remove any finger prints, fibers or dust that may be on a product
3. Cotton Gloves. These are so I don't get new finger prints on items as I am working on them. They are special gloves from the photo lab, same quality that they use when handling negatives. You can also use latex or even finger cots (found in the bandage section of your drug store). I never cared for them, but its a viable option.
4. Time. Don't try to do this in a rush
5. Stable work area. Placing product on a table that can be bumped or with a fan moving in the room can be a nightmare...please save yourself the headache.


Now, if you have been following along in this series we have covered...
Backgrounds: Part 1 Part 2 and Part 3
Finding the right location for your home studio
Finding the right light
White Balance
Setting up your DIY studio*
and now, collecting the tools to success.

Which brings us to product placement, posing, and perspective.
These will be our focus this week! Be sure to come back!

*I have delayed the release of the DIY studio available light - as well as a followup to the Dollar Store studio due to (of all things) TIME to shoot the images for them! I hope to get the images done this week and fit them back into the schedule - but I wanted to make sure you still had some great information to chew on this week! For now, you can view the First part of the Dollar Store Studio from the link above - it gives you some basic guidelines and some very helpful tips!


Thursday, April 4, 2013

This and That: Easter

Good Morning! Did you miss me?


Katie Did What

This morning is the Easter Party and egg hunt at the lil' ones school - She is SO excited. Mostly because she gets to show off her new super cute "pop star" outfit. That, was how this post should have started... last week.

Sorry about that! I had it all ready to go, and was waiting for images to upload when I got super busy... and bam... before you knew it... here we are, a week later! I even had to push some DIY studio posts back because I am missing images for them... =( hopefully we will get caught up next week for you!

This week I tried out a new recipe for the crock-pot... do you use yours? I LOVE mine! I read a post last week about doing Easter Ham in it... why have I never thought of that! So I did ours... it was GREAT... mostly because we were not cooking for a crowd.

This year, again we are away from friends and family and that makes our holiday's "small-a-days" so I picked up ham for the crockpot and made a nice honey pomegranate glaze for it. We also enjoyed balsamic carrots, and smashed potatoes... I also made deviled egg salad... rather then taking the time to make individual eggs. Again.. BRILLIANT!  


This week I wish I could say I spent a ton of time catching up on posts, and working on adding more images... did you know I average 5 images per post... but I am simply not finding the extra time. I am trying to go back and do 2 posts a day. That is my goal! So if your reading something and it makes no sense because there are not images... please let me know! I will do it the next chance I get!


This is an image of my FAB new bag from Zeeuh that I have been DYING to share with you all... she made it custom for me... it was a great experience working with Alicia.. she provided me with some great fabric options and even met me for some CRAZY good ice cream and coffee to hand deliver it! Talk about good service! Along with my new bag came a matching mug hug! EEK! Wont I look stylish going to appointments and networking meetings now! Oh, and that cute wallet (the back side is shown) that is a little goodie I picked up for myself around the holidays!


That is the mug-hug that started it all... I LOVE this color combo!


And this is an image of the cute gift card holder ... that I use for my cards - its super cute! Just look! (ok those are her cards shown... but really that's the right thing to do!)


I am telling you THAT is a woman YOU want to do business with! Great products, sweet person and really... you make a difference in her families lives directly when you make a purchase from her... so HOW can you say no to that!
Zeeuh Store


This week I also had the EXTREME pleasure of guest posting on the A-list site... I LOVE the A-list, which is really a collection of fantastic shops and people to do business with! I worked very hard on this guest post! It was a true labor of love for me. (ok... this again was last week... but I am SO happy about it I still had to share!)

That was really the highlight of my work week!


This week I have also been thinking alot about a new service I want to offer... I am having a hard time with a name - but its basically going to be my version of a product review (with a photo twist, of course!) That means if you make / sell your own products... you can contact me to be first in line! While I am still working out some details... I know it will be FREE and SIMPLE!

Tuesday, March 19, 2013

The Product Background

There are many choices available to you for a home studio background. Today were talking all things white... why is it the most common and effective product background? That question, and others will be answered today, plus I will share a couple of great tips that you can use at home!
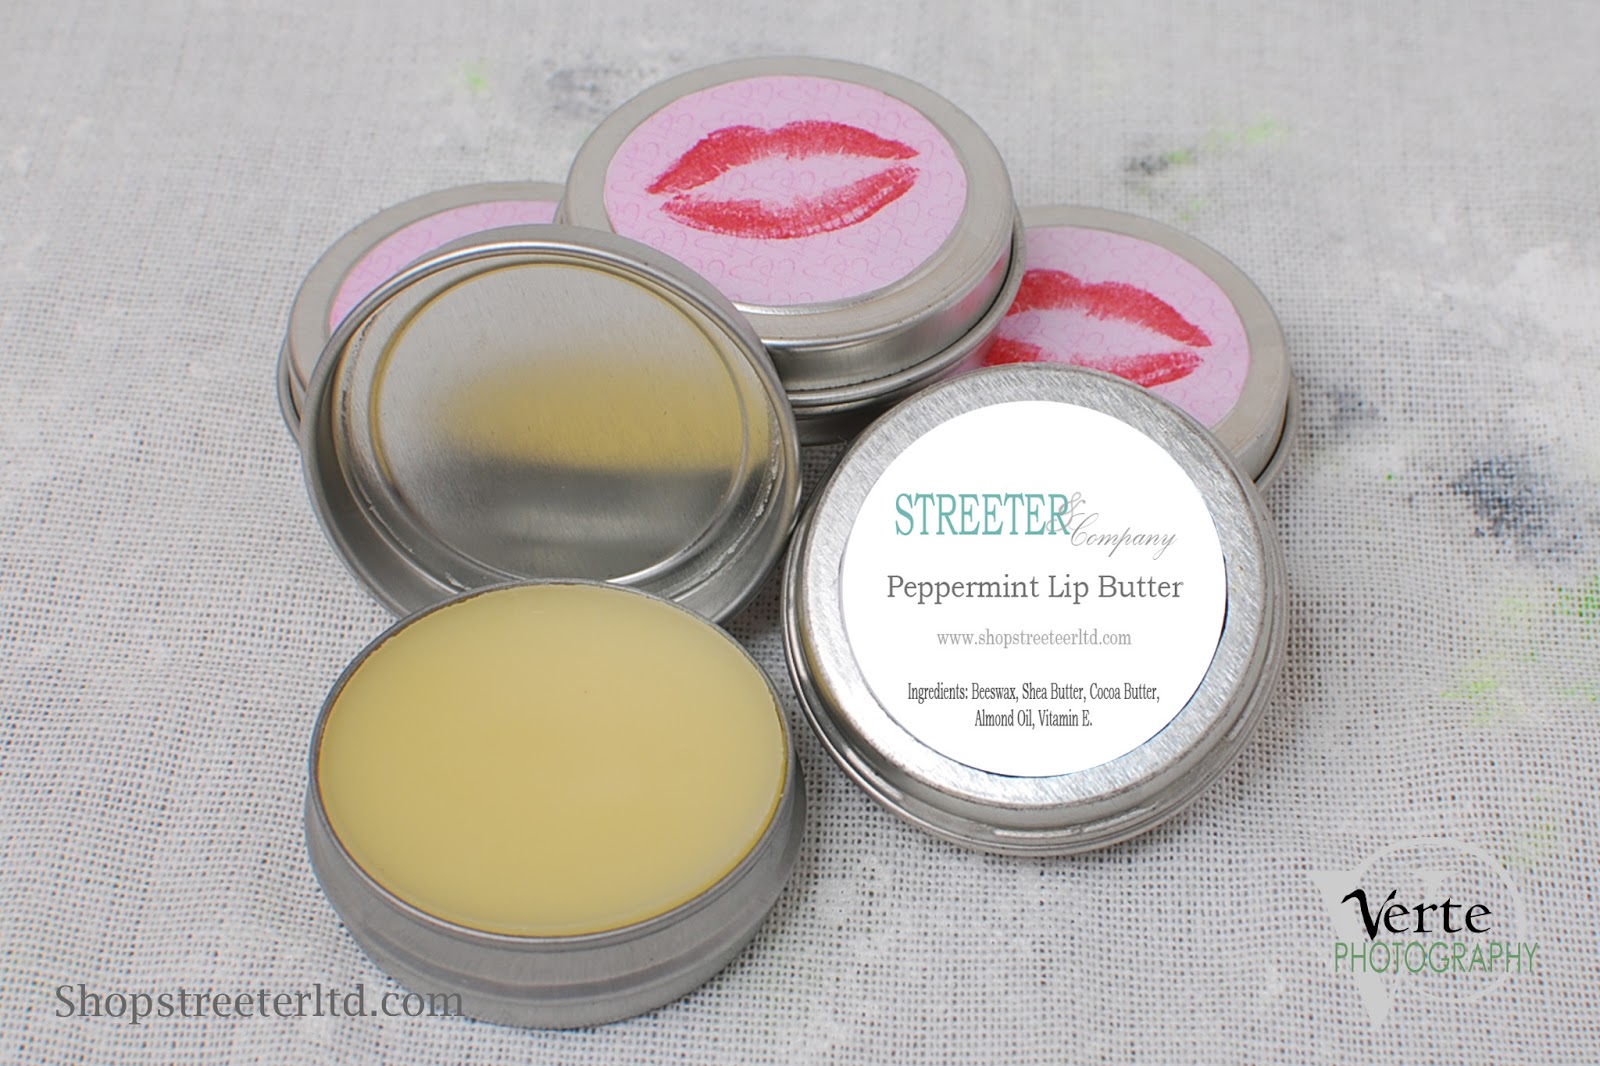
Product provided by: ShopStreeterltd.com


Simple white backgrounds are common, effective and an industry standard. I don't know of a professional studio or product photography that doesn't have at least ONE option for a seamless white background!
Product provided by: ShopStreeterltd.com

Why is it popular? It's clean. It's seamless. It's simple. It doesn't distract. It makes colors appear to "pop" and be brighter, and more vibrant. It's professional. It is easily manipulated and created in Photoshop.

Ah. Bet you didn't know that!

It is often "created" in photoshop, when you look at professional product images, magazine ad's, Pinterest ads, even on TV commercials you find that when they want to make a statement, or really highlight an item - you find it on white. Many times that white background wasn't really there (or it has been digitally altered.) Many times it is shot on a green screen called a chroma key (yes like the weatherman) and then the product is selected and dropped onto a flat white background within a photoshop style program. Interesting, right!? Professionals shoot this way to insure there are no distracting seams, creases or shadows on the background, as well as creating that "floating" image feel. Plus, it is easy to drop the image on to any color of background once it has been selected off the chroma key background, making one image very versatile.

The Bonus of White: You have a solid white to set your WB mode to. If you make your white, white... all the other colors in your digital image fall into place. Plus, they are easy to find, purchase and create yourself.

Different Types of Materials: Professionals use several different kinds of white backgrounds they often have rolled white paper backgrounds this are not every day paper.. but a heavy stock.  Others opt for some sort of fabric like cotton, canvas or white muslin, again typically a heavy stock. For the home studio, I think it is important to judge the size of your product needs and then look at the type that would best fit those needs. 

For small items thick white paper - like foam core, or poster board works well. The poster board can be leaned against a wall or table to create a seamless look... like the set up I did for the phone vs camera post.


You can also get larger rolls of white paper from your craft store if you have larger items, it isn't as heavy as photography rolled paper, but it would work in the home.  If you are using more of a paper over the poster board thickness... a lighter paper stock,  I would suggest picking up a piece of white foam core as well to place under the paper and your product to prevent bleeding from the color of your table or surface (unless it too is white). One of the reasons many photographers use large rolls of thick white background paper ( and it is thick and heavy stock!) is that it can be rolled out over another background,or over a painted wall and nothing will bleed through so it will stay white. Another is because when it gets dirty they simply cut it, roll new paper down and then go to the next shoot. This is really common for family, portrait, and commercial photographers.
©VertePhotography


If you have larger items, hanging items, or want something a little bit different you can purchase a muslin from someplace like Steve Kaesler's Website where he offers 6x9's at a fair price $59 or so. I know many a home photographer that uses a cotton sheet... however I am going to tell you - that may not be your best idea!

You can certainly use any white cotton (or other) fabric and it will "work". However, when looking you want to find one that is thick enough not to let light pass through it, sheets tend to be too thin. If you can hold it to your window on a sunny day and it doesn't block the light... it is not the best to use. If it is simply all you have, then again I suggest you double it up, or place something else white under it - like foam core. (Do you think Foam core is a photographers friend?) The idea is that you want it to bounce light off of the white and around the product, not for the light to pass through the fabric. This will help add light to your image, reduce shadows and create a seamless look. You want your product to pop, not the background.


Product Provided by: The Tiny Diva

Think about what you are shooting, if your shooting people it will get dirty. You may need to bleach, repaint, or replace your background as it gets used so be thoughtful and look at the care instructions of what your using!

You also want to look for something without a texture or weave to the fabric, as these can look distracting on close up images. When you use a fabric, it's very important to iron it flat, and to place it where it will cover your surface area and like the paper curve up like along the wall to give that seamless look. If there are folds or wrinkles this will look distracting and create shadows and highlights that you don't want!


While this image doesn't look "bad" it can easily be so much better by simply placing the product on a smooth background!


Product provided by: ShopStreeterltd.com


And here is my top tip for a simple, elegant white background that you can recreate at home super affordable.

Product provided by Crafty Gal Creations
See where there is a slight reflection of the product on the background? Super sleek right?
To recreate this look (for small items) and in fact what I used for this shot, head to your local craft store and pick up one "wipe off" poster board... it has a shinny side that works like a wipe board with a dry erase marker! Use this side to catch a reflection of your product! Of course be careful that your product is all that reflects, you don't want your lights, or camera or anything showing up! Also, you have to use your macro function and make sure you have enough light to create the reflection!

Now, white is not the only game in town! It is simply the most common and often the most practical. However, in the next few days I will be covering some alternatives to white, and why you may want to use them!