©Verte Photography All Rights Reserved

Monday, October 20, 2014

The Newest

Thank You to all our followers on blogger! 
We are now LIVE on our new blog with a permanent home as part of our website! 

http://www.vertephotography.com/blog/

We are currently updating our bloglovin account
and you will be able to follow via EMAIL, as well as utiliazing the easy share options below each post!

We hope you are as excited as we are with the new site, and format of our blog! 

Friday, August 29, 2014

Function Friday: White Balance

Want to take better photos? Who doesn't?

Sometimes we find that our images have color casts that we don't understand, that are distracting.
By learning a little bit about light, and how your camera works you can make a simple adjustment and have a HUGE impact on your natural light images.

White Balance (WB) 
simply refers to the camera mode that allows you to control how your camera sees the color temperature of light. 
By selecting the correct mode - your camera can correct setting White - back to White and saving you countless hours of photo editing and stress! 


If you haven't already - you can print these Keycards and keep them in your camera bag for quick reference!
<Get the second set here>

This double use Key Card lists both the different WB modes and WHEN you want to use them along with a kelvin guide to the color temp / type of light. 
Your most natural light, is during midday - or when you are using flash or strobe lights. 
However, as a photographer you get to choose when utilizing your natural light environment adds to your images - and when it needs to be corrected out. 

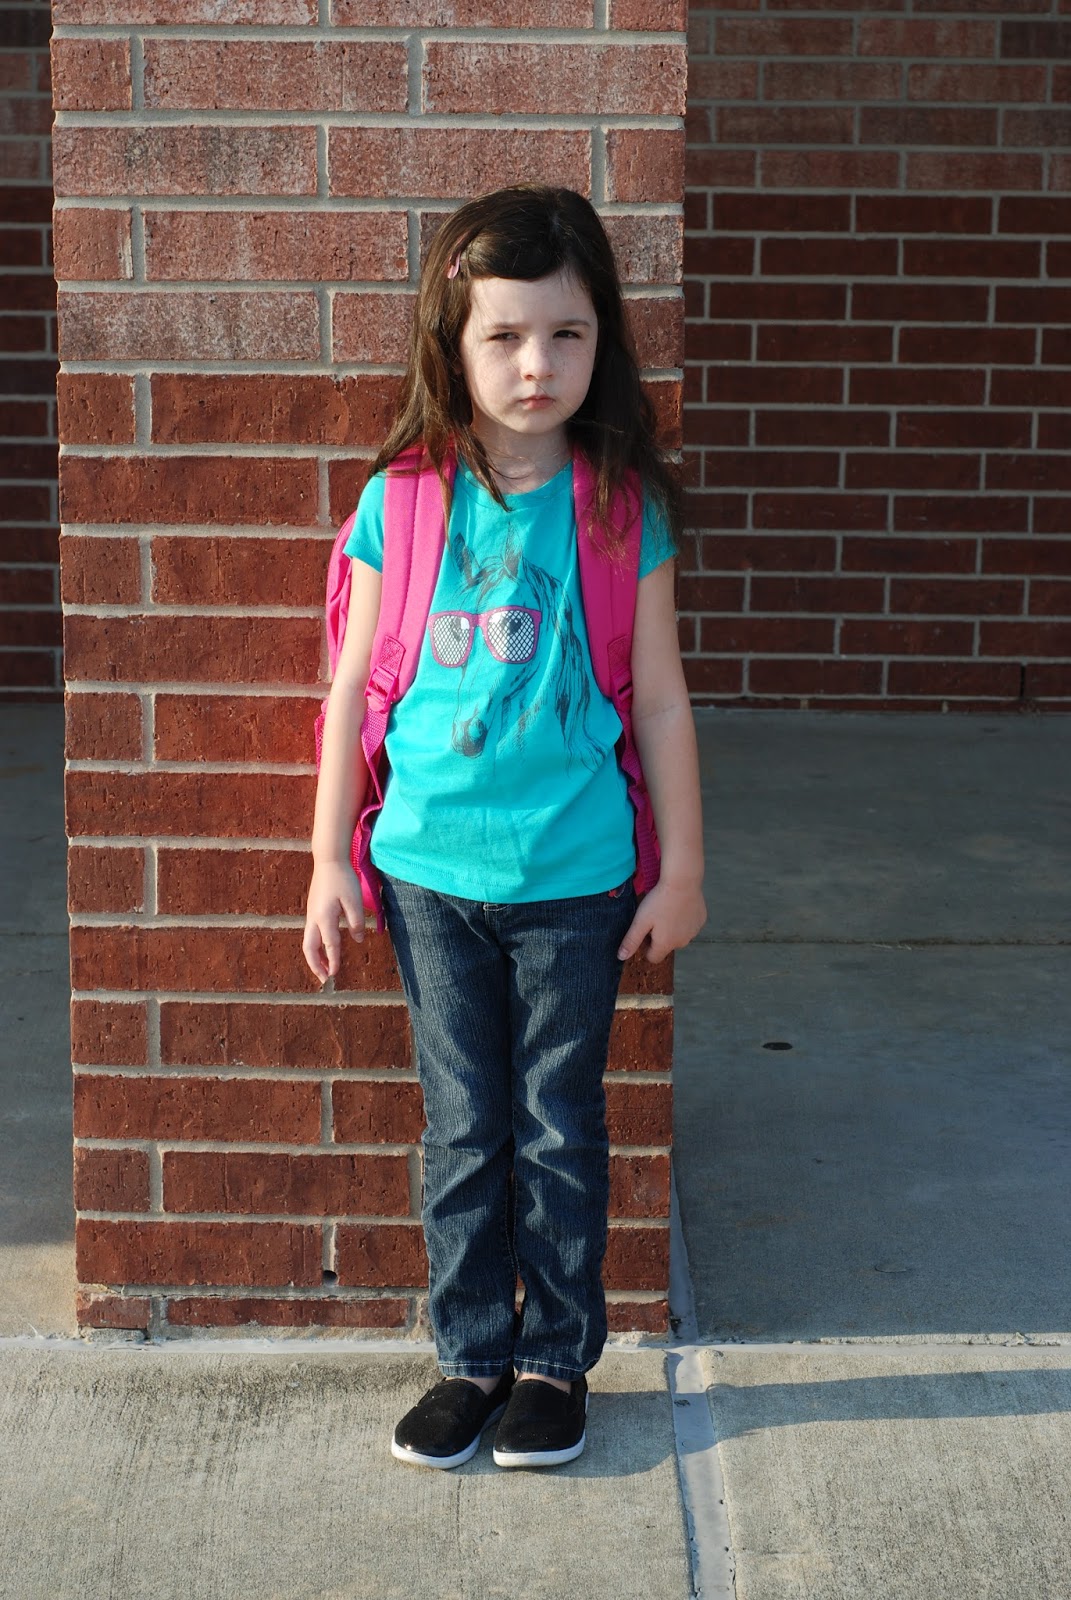
This cutie was taken in the shade during the morning and you can see the blue behind her while blurred should be cement (grey) Personally I choose NOT to correct this with WB because it really makes her eyes pop. 


Where in this image I selected to utilise my WB to remove the cool blue tone because I felt it made her look too pale and it seemed to fight her personal style.

WB is absolutly your friend if you are doing portait work - but another BIG place to use it is product photography. If you are an online retailer doing your own images - this is a tip you want to use! 


Friday, August 22, 2014

Function Friday: Composistion


Composition (in photographic terms) refers to the placement or arrangement of the elements in your image.


Fill the Frame with your subject.


By utilizing a few basic rules of composition and combining them with some basic camera knowlage you can create stunning images.  On our third keycard reminder sheet that you can download directly from the Indie A-list you will find quick reminders for some of the most popular techniques.


If you haven't already - you can print these Keycards and keep them in your camera bag for quick reference!
<Get the second set here>


For today's lesson - I have added some additional images in order to provide a visual for utilizing those rules!
Frame your subject

By using Dad's hands, not only do you provide prospective and scale - showcasing how small this 4.5lb baby is, but you keep the attention on her. 
Precious.


Everyday snap
Change perspective.

Changing up the pose - certainly adds a lot to this image, but so does shooting at a slight angle down towards the subject rather than straight on. 
(Vertetip: there are also a lot of leading lines in the brick pattern bringing your eye towards the subjects face)

While below I created lines with the pose rather than background.


Leading Lines.


Pattern/ symmetry
Patterns can be found in lines of trees, flowers, any repeating pattern... even on the background of a product image. It simply adds interest and balance to the image. 


Taller subject (shoot vertically)

Wider subject shoot horizontally.

When I teach this, people always cringe thinking I am referring to the size of a person... but in truth - you have to take into account the pose - and how much of the surrounding area you want to be a part of your vision for the image.


Our last - and one of my most favorite is the rule of thirds. Fill two thirds of the space with either your subject - or with empty space - either option works.


Rule of thirds (lines provided for visual of the rule)


Friday, August 15, 2014

Function Friday: Flash modes

What is the biggest contributing factor to your images?
LIGHT!

What is your biggest resource for adding light to your photographs? 
The Flash!

Regardless of your camera type, you have the ability to utilize different flash options.
The first step is to understand WHAT those options are:

The above graphic is part of a collection of Keycards
and keep inside your camera bag for quick reference.
<Get the second set here>

Accessing your Flash Function

First, you will need to be in your P mode to command your flash. A / Auto / or the green square mode won't always let you control your flash!
 (For more info about the difference between Program and Auto check this out!)


Now, like with the other function buttons, typically you cycle through the different options by
1. Hitting the flash button over and over changing (or cycling through) the icon on your user display.
2. Using the arrows on your camera back (Cross keys) to select the icon from a menu display
3. Hold the button and spin a command dial (for Bridge or DSLRS)

Understanding the Basics

Much of photography is making choices. Knowing when your flash will help, and when it will hurt your images is HUGE!

First - your camera flash has a "sweet spot" too close and your subject will be over exposed (ghost like face) to far away and they will be underexposed (in the shadows, where the flash doesn't reach)
As a general rule when you use a flash that is built into your camera you want to stand about 6 feet away from your subject. This can be affected by your zoom range, and how light or dark your room is - be sure to play with your flash and get a feel for different situations. 

The biggest part of this to understand is if you are shooting a performance on stage...
like ballet, your flash wont help. You will be too far away for it to do anything more than light the backs of the heads of the other parents. 

Second - There is NOTHING wrong with using your flash outside! When you are taking images of people, it works as a "fill flash" and reduces shadows across their face. 
This is why you see professional portrait photographers using flash equipment outside! 
It provides even, and consistent light for the best exposure.


For additional information on additional flash options for point and shoot cameras
For additional information on strobe flash options
For additional information on Red Eye reduction

Friday, August 8, 2014

Function Friday: Camera Icons

Sometimes the best place to start is at the beginning. 


I recently made up some awesome Keycards for readers of the Indie Alist blog to be able to download, print and carry in their camera bags!

I wanted to offer MY readers - a bit more information on what those cards offer. 
SO.... I will be taking 1 of the cards each week and adding a bit more depth to the content it offers!
The idea behind these cards was to offer a quick reference and reminder to basic camera functions and photography techniques so that you can build your "bag of tricks"!

First up we will be talking about Camera Modes and Common Camera Icons:


 Camera Icons are typically placed on common buttons, menu or display screen so that you can adjust your camera easily (or any camera that you happen to pick up) 

P, A, S, M = Camera operation modes - are typically on a dial you turn it in order to select. 
There is also one I didn't mention "auto" or a camera icon (sometimes green, or a green square depending on manufacture) regardless of the image the selection is the same FULL AUTO = it wont even let you override the flash. DON'T use this option! For many camera's it also limits the menu you can see - so if your looking for a function like WB - you wont find it if your camera is set to this mode!

Even if you are just starting out in photography- you ARE smarter than the camera! 
Camera's can be tricked - shoot in Program so that you can make simple overrides like popping up your flash when your subject is standing in front of a window!


This is a great exsample - the camera will see the light outside the window and think you have enough for a good exposure - however... the grass outside isn't your subject! In order to see our friends here - I popped the flash for a quick capture.

For additional information about your

All consumer level cameras have "scene" modes - these are additional "preset" functions where the camera manufacture has selected the best combination of ISO, Shutter speed, Aperture, WB, and / or flash function for the common situation you are shooting.
For example a Fireworks setting would command the flash off, typically have a fast ISO (chip sensitivity) and a slow shutter. Which means you will want to have your camera on a tripod to reduce camera shake. (use a tripod for slow shutter times unless you want blurry images!)


Scene modes are a great way for someone without a lot of "technical" knowlage to be creative and experience better results in photography! Simply pick the icon that matches with your situation!

There can litterally be 100's of scene modes! While some are on a mode dial on top of your camera others may be found by pushing a button and cycling through a list, or it could be inside a menu.
You may need to look in your camera manual to find where they all are in yours!
I suggest photo coping the page that lists them all out - and adding it to your Keycards!

Friday, July 11, 2014

Friday Fun Day!


Today I am super excited to be guest posting on the  theindiealist.com 

Where I am offering a FREE printable to keep in your camera bag to use as quick reference guides when shooting your images this summer!

Next Friday there will be 3 more - talking about Aperture, Shutter, and White Balance!
 Then all of August I will be posting an in depth look at each function card!

I hope you enjoy these as a little Friday Fun Day gift to you!

Here is a little sneak peak at the Flash Key Card!


Tuesday, July 8, 2014

My life in negitives

This morning I spent some time scanning in old pages of a yearbook, and transferring another bundle of random negatives that I found in a box to 3ring binder sleeves so they can be stored and protected until I get around to scanning them to store digitally. I seem to come across random envelopes of negs every time I dig around... so I try to do this process anytime I see them.

It was only a week or so ago when I was asked why I was never very good in Math in school... and I replied - well if I could do it again, maybe I wouldn't choose to take Math with the cute teacher. Funny, I couldn't remember the name of the boy who I had my first kiss with - but I remembered my math teacher.

For the record, after dusting off that file in my brain I did remember where, and when... and I did even remember his first name... before I looked him up in the yearbook.

Thumbing over the grade school yearbook I came across that boys photo... along with so many other good memories. It has really got me thinking this morning about the memories that I capture for my daughter now. How important it is not only to record the images and store them safely for her... but since so many of these images are not being printed we have lost the opportunity to write on the album page or on the backs of the images for who and when... and even why that image would be important to us! Those signatures and little notes - those are precious memories for me now.  There are so many people that I have photos of that I don't remember a name for... but they must have meant a lot to me at one time. 

I even found in one high school yearbook where someone I crushed on promised to propose to me on Graduation day.... I remember not knowing he wrote that for several years - it's funny how life changes. 


Oooooh that 80's hair - how I don't miss you! 


I find myself looking at her images differently now that I have reviewed the negatives and prints of my past. I'm not sure if changing the digital file name will be enough to satisfy my needs to record this time for her. Now that she is taking photos for herself... I want her to record her memories easily as well. This might be the inspiration I need to print again... make albums - create photobooks - and even record them digitally in a new way taking the time to add a digital journal so that 30 years later in her life - she can look back and remember those people who were inspiring to her. 

Yes... even the first kiss.
Because somethings you should remember for a lifetime.

Tuesday, July 1, 2014

The Clooney Car

So there I was, driving home from our weekly library trip when this beautiful Lincoln town car pulls into the lane in front of us. Now, it's pretty common to see Infiniti SUV's, BMW's and a plethora of  Audi, and Mercedes-Benz rolling around the streets in our community North of the Energy corridor in Houston. Town cars, like the sleek black... insert old school Mr. Big here? Not so much. I mean... it's a family type neighborhood and there isn't even high end shopping or hotels on this side of town. So naturally I thought ooooo I wonder if they are lost! 

Then my eye landed on the licence plate. The vanity plate. 

CLNY 11

My mind immediately went to George Clooney  - You know like Oceans 11.

How funny would that be. George tooling around the neighborhood with his driver!

It could happen. I mean the man does travel.

So I indudgled in a bit of a comical "what if" moment... and thought - 
wow what would happen there... 
would it be like a page of the steamy summer romance novels, maybe there's an accident next to us and he jumps out to help. We meet... he's dazzled by my ability to dress in anything other shorts and a tank top on the sweltering humid Texan day. 

Yes. I indulged. Everyone does it.

Don't they?

Why not?
The lights red in front of us and tuning out the ramblings of a 6 yr old requires a practiced mind. 
This is how I practice. Don't judge me.

That's when I remember... 


I'm sporting the fantastic - don't leave home with out them....
burn you to the ground with my impeccable, scorching hot fashion sense...

Hello Kitty sunglasses.


Wouldn't that fit right in to the fictional tale of meeting Mr. Handsome... the stunning and now mortified woman proceeds to melt into the pavement from pure embarrassment.
I might need to lay off the summer romance novels.

maybe.

But okay, let me explain why I am wearing these bright pink - obviously way to small for me sunglasses.

Yep. I have lost 3... count them 3 pairs of sunglasses in the past 2 weeks. I have given up completely on finding them. So in order to see in the blistery sun blinding rays... I stole my daughters. Because looking like a fool in bright pink sunglasses is a better option than giving the sun ANY opportunity to add to my "crinkles". I'm a firm believer in wearing sunglasses so that I don't squint and by default I will reduce the amount of wrinkles I earn.

I could just see George's driver looking in the mirror and saying...
Holy cow man... you totally gotta see this chick.... are those Hello Kitty sunglasses?

Yep... so George... or whoever you were sitting in that posh ride that was totally in the wrong part of town... I'm not crazy. There was a PERRRRFECTLY good reason.

Oh. You will be happy to know, I took this as a sign and my next stop was the Target. Because if life is going to toss the possibility (or even random irrational thought) about meeting someone even remotely close to a Top 10 sexiest man alive - I'd like to do it with SOME shred of dignity.